Chocolate Covered Halloween Oreos
We partner with trusted companies that offer products which help our readers achieve their goals! If you purchase through our partner links, we get paid for the referral at no additional cost to you! Read our disclosure for more info.
These chocolate covered Halloween Oreos are the easiest spooky treat. Dip, decorate, and serve a colorful no-bake treat that’s fun to decorate and eat!

Halloween Dipped Oreos Recipe
These chocolate covered Halloween Oreos are as simple as they are adorable. Just like my homemade Halloween cookies and chocolate Halloween bark, they’re all about fun decorations with bright colors, candy eyes, and festive sprinkles.
Kids love helping with the dipping and decorating, and even my teenagers get into it. They make a perfect no-bake project to prep ahead for Halloween parties or to enjoy as a sweet after-school surprise.
Why You’ll Love This Recipe
- Festive and fun: Bright colors, candy eyes, and sprinkles make these Halloween Oreos the cutest Halloween treat.
- Easy no-bake recipe: Just dip, decorate, and enjoy without turning on the oven.
Ingredient Notes

Find the full recipe with directions below.

SIGNUP FOR EMAIL UPDATES
FOLLOW US ON SOCIAL MEDIA @POPTHEKITCHEN
- Oreo cookies: Classic Oreos work best, but you can use any variety including the seasonal orange creme chocolate sandwich cookies.
- Candy melts: Purple, green, and orange for that festive Halloween look.
- Halloween sprinkles: Mix of spooky shapes like bats, pumpkins, and ghosts.
- Candy eyes: Fun for turning your Oreos into little monsters.
How to Make Chocolate Covered Halloween Oreos
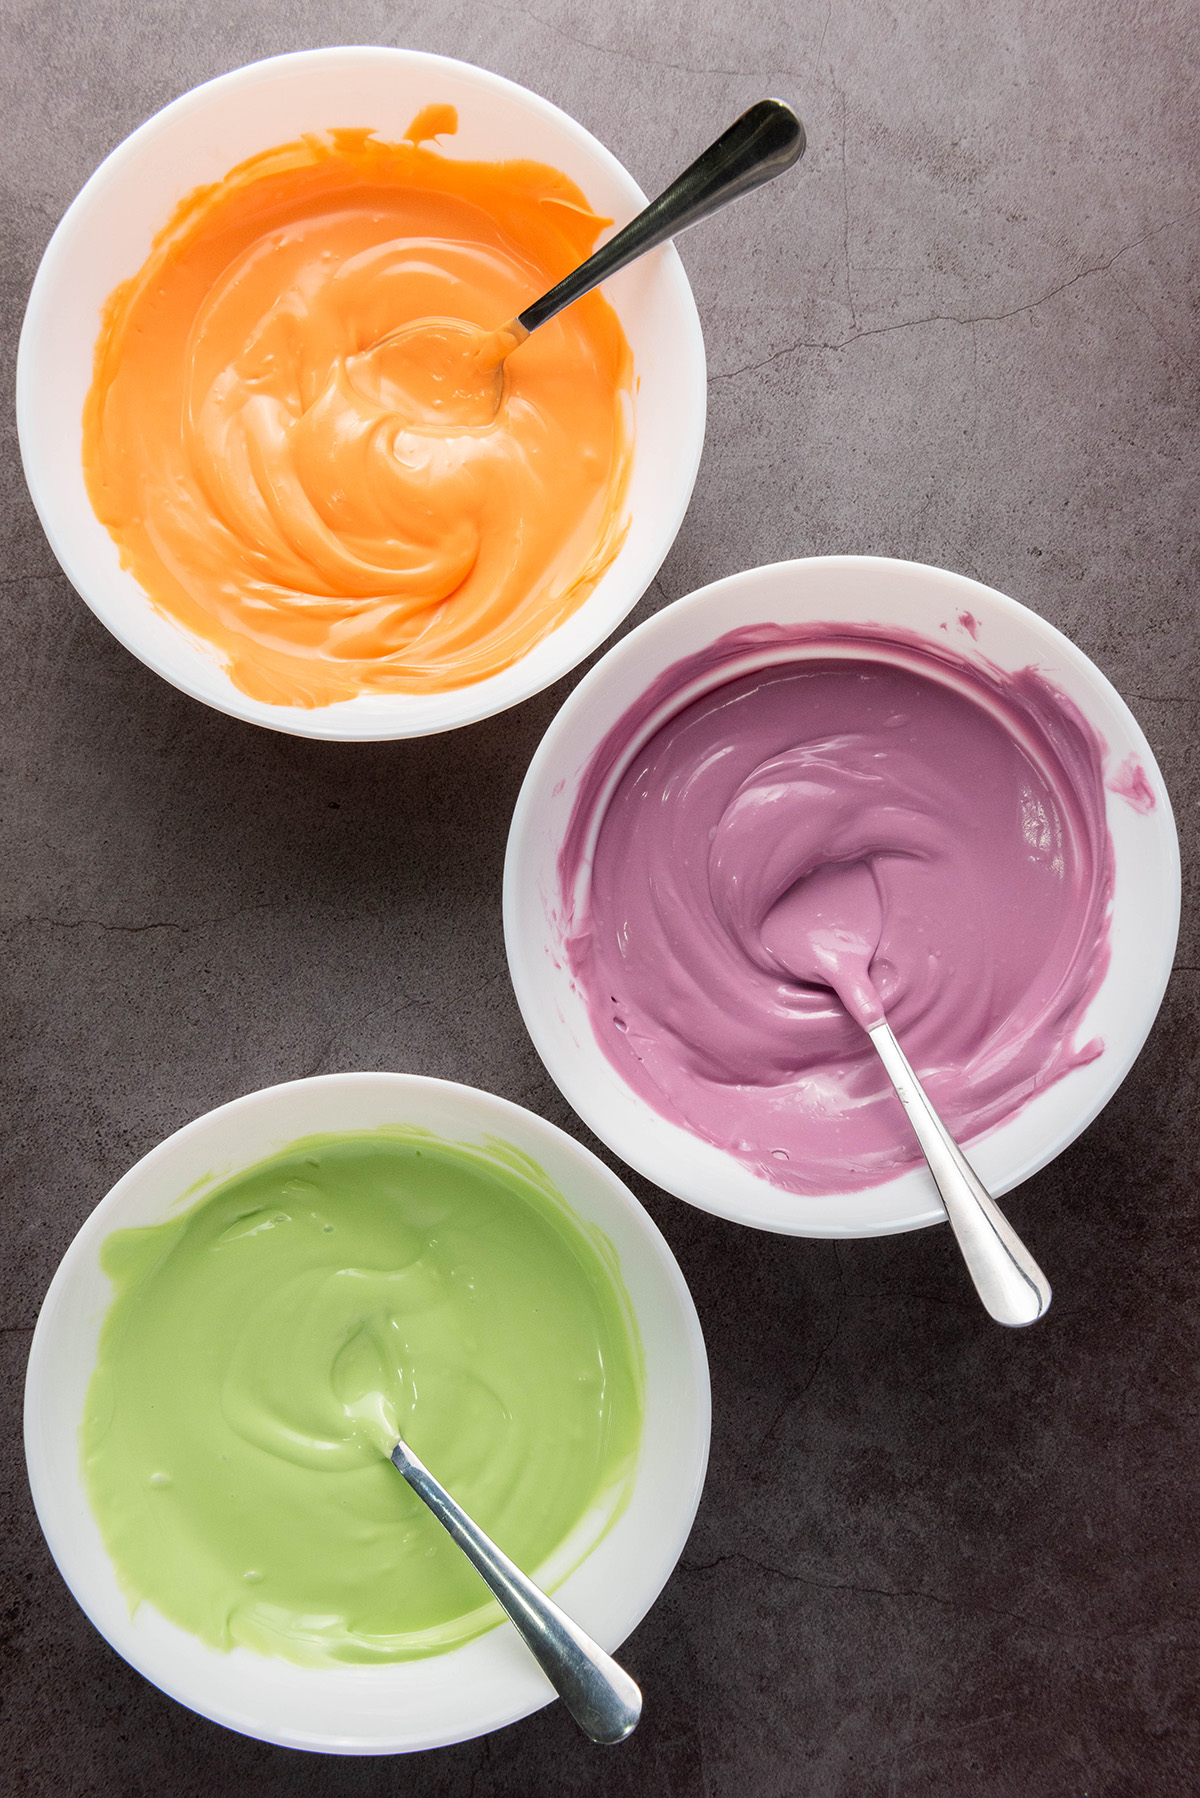
Add the purple, green, and orange candy melts into separate microwave-safe bowls. Heat one at a time in 30-second bursts, stirring in between, until smooth.
Drop a cookie into the melted candy, making sure it’s fully coated. Use a fork to lift it out and let the extra drip back into the bowl.
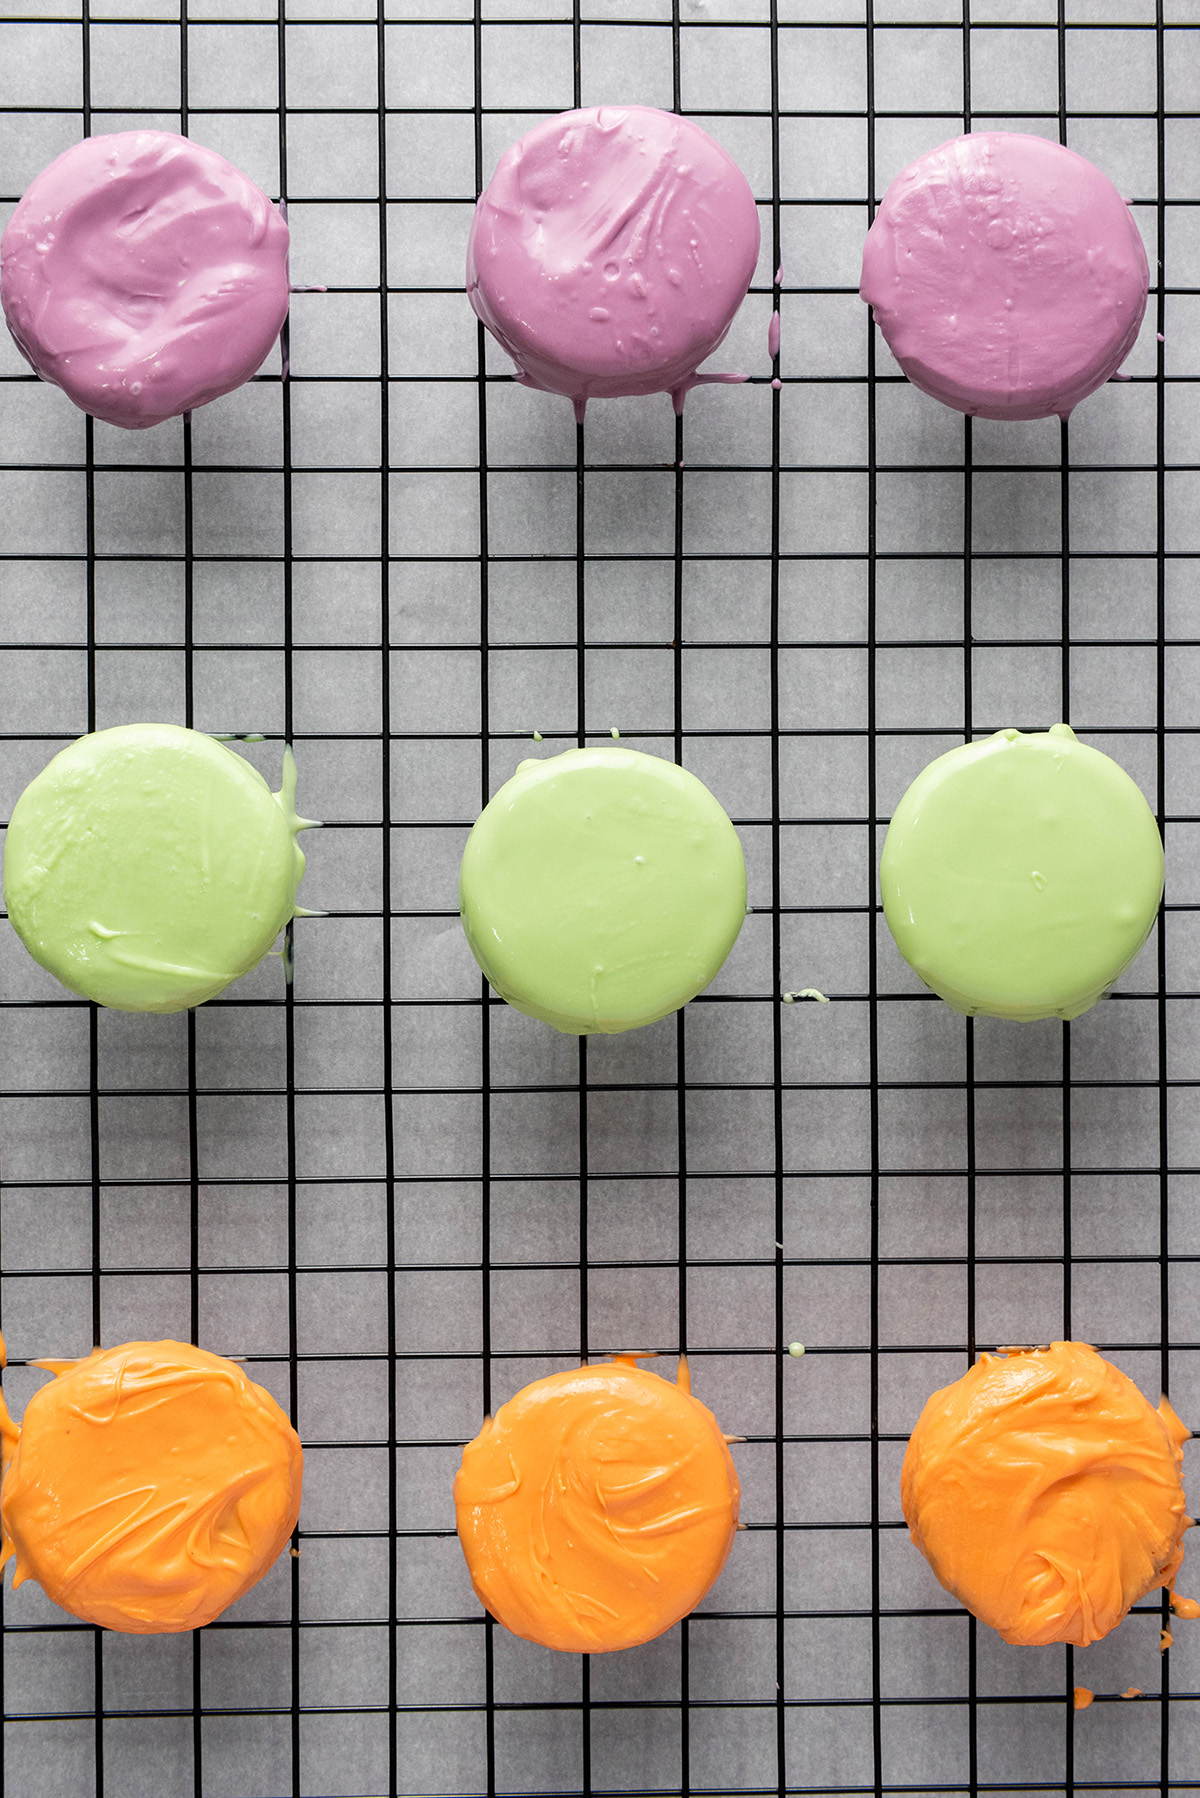
Place the dipped cookie on your prepared baking sheet. Repeat with the remaining Oreos, switching up the colors. While the coating is still wet, sprinkle on your favorite Halloween decorations.
Leave the cookies at room temp until the coating hardens, about 30 to 60 minutes. If you want to speed things up, pop the tray in the fridge for 15 minutes.


Recipe Tips
- Use a fork for dipping: A regular fork works great for lifting the Halloween dipped Oreos out of the melted candy and letting the extra drip off.
- Thin the melts if needed: If the candy melts seem too thick, stir in a tiny bit of coconut oil or vegetable shortening to smooth them out.
- Decorate right away: Add sprinkles and candy eyes while the coating is still wet so they stick.
- Mix up the designs: Make some with candy eyes, some with just sprinkles, and some with both for a fun variety.
- Speed up the setting: Chill the tray in the fridge for 10–15 minutes if you don’t want to wait at room temperature.

More Easy Dessert Recipes

Chocolate Covered Halloween Oreos
Ingredients
- 12 Oreo cookies
- 1/4 cup purple candy melts
- 1/4 cup green candy melts
- 1/4 cup orange candy melts
- Halloween sprinkles , candy eyes, festive jimmies
Instructions
- Prep your station. Line a baking sheet with parchment paper or a silicone mat. Pour your Halloween sprinkles into small bowls so they’re ready to grab when decorating.
- Melt candy melts. Place the purple, green, and orange candy melts into three separate microwave-safe bowls. Heat one bowl at a time in the microwave in 30-second bursts, stirring in between, until smooth and melted.
- Dip the cookies. Drop an Oreo into the melted candy, coating it completely. Use a fork or dipping tool to lift it out, letting the excess drip back into the bowl. Set the cookie on the prepared baking sheet. Repeat with the remaining Oreos.
- Decorate. While the coating is still wet, scatter on your Halloween sprinkles. Add candy eyes or mix-and-match sprinkles to make each cookie look like its own little monster.
- Set. Leave the dipped Oreos at room temperature until the coating hardens, about 30–60 minutes. For a quicker option, pop the tray into the fridge for 15 minutes.
- Serve and enjoy. Once firm, transfer the decorated Oreos to a festive plate or airtight container until you’re ready to share them.
Notes
Variations
- Colored coating: Use white chocolate or almond bark and tint it with gel food coloring for custom Halloween shades.
- Different Oreos: Try Golden Oreos, Double Stuff, or even seasonal flavors.
- Jack-o’-Lanterns: Dip these Halloween Oreos in orange coating and use melted chocolate to pipe faces.
- Mummies: Drizzle white candy melts over dipped cookies and add candy eyes for a wrapped look.
- Frankensteins: Use green coating, add candy eyes, and pipe on hair and a stitched mouth with black icing.
Storage
Keep your decorated chocolate covered Halloween Oreos in an airtight container at room temperature for up to 1 week. If stacking, place parchment between the layers to prevent sticking. You can also refrigerate them if your kitchen is warm, but room temp keeps the cookies crispier.